


Easy Arabic Hijab Tutorial for Beginners: Master Traditional Arabic Hijab Styles

Hey there! So, you’ve probably stumbled upon gorgeous Arabic hijab styles on Instagram or Pinterest and thought, “Wow, how do they make it look so effortlessly elegant?” You’re not alone in feeling a little overwhelmed. But here’s the thing: with a bit of patience and practice, you’ll be rocking that chic Arabian hijab style like you’ve been doing it all your life.
Let’s dive into this easy-peasy guide together. We’ll break it down, step by step, so even if you’re juggling a busy life, you can pause, practice a section, and come back to it when you’re ready. This way, you’re not just learning an Arabic hijab style but embracing a piece of living fashion history too.
Why Choose Arabic Hijab Style?
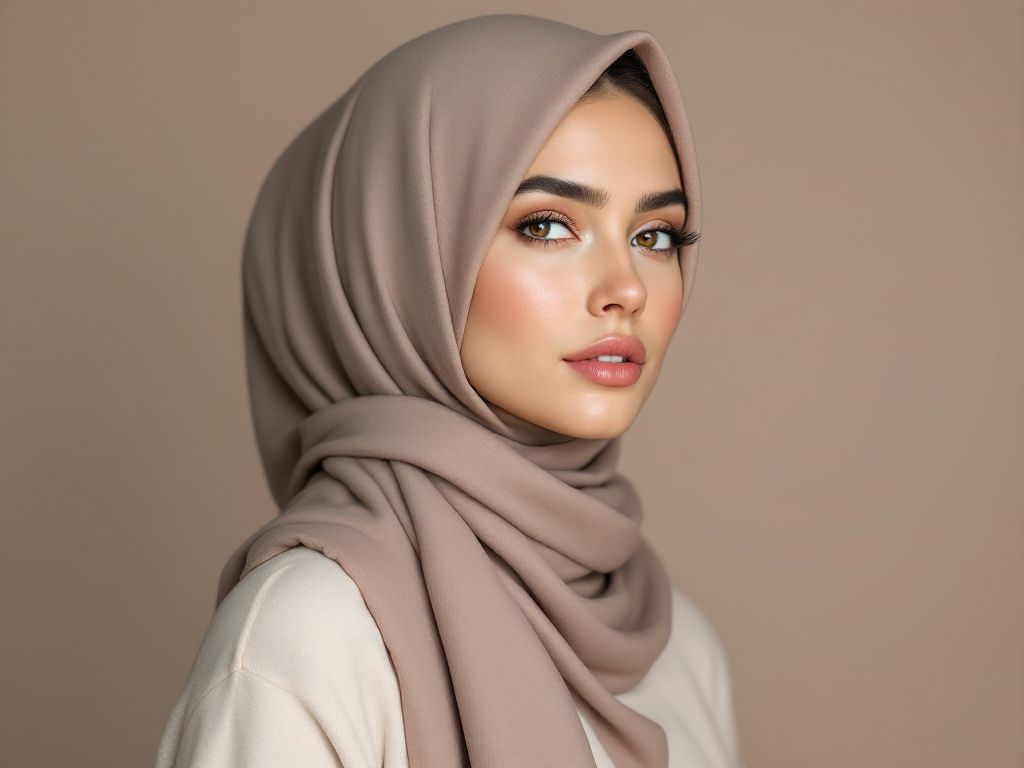
Before we jump into the folds and pins, let’s quickly chat about why the Arabic hijab style stands out. Arabic hijabs often feature grace, coverage, and an aura of elegance that many adore for formal gatherings, daily wear, or when you just need a pick-me-up on a dreary day. Whether it’s the intricate arrangement or the blend of traditional and modern elements, they’ve definitely got a charm that’s hard to beat.
Essential Tools and Materials
Before you start, let’s make sure you’ve got everything you need nearby. Trust me, getting halfway through and finding out you don’t have an important item is a rookie mistake we’ve all made.
Here’s your quick shopping list:
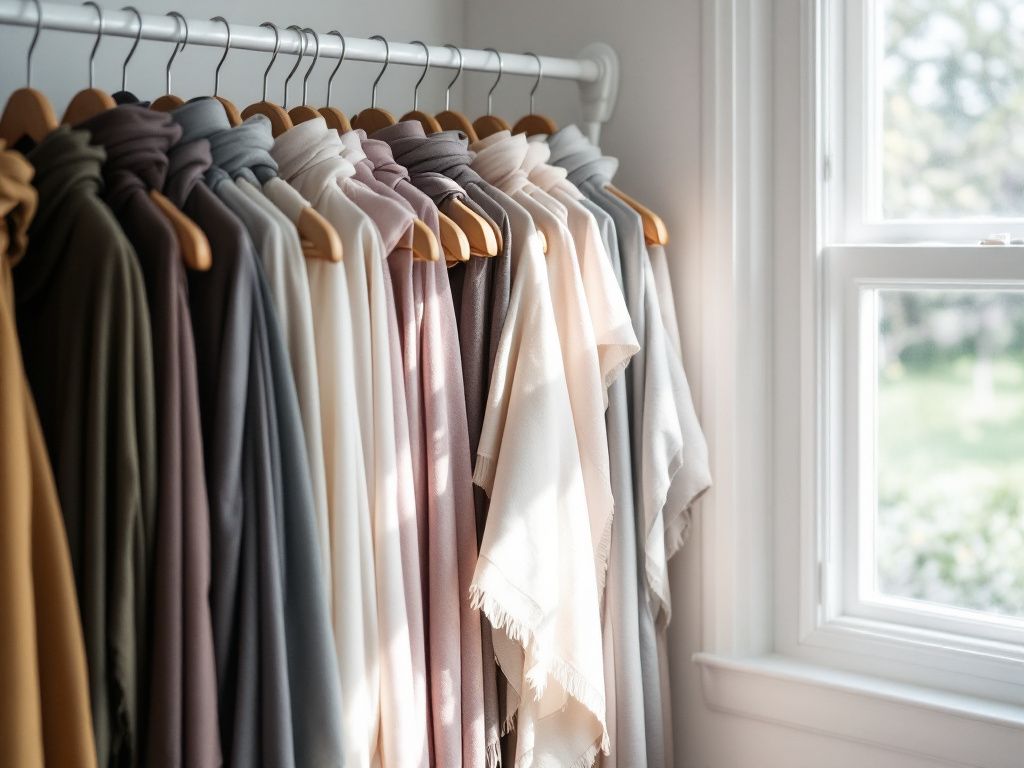
- Hijab or Shawl: A fine, breathable material works best. Think cotton, chiffon, or a light wool for different seasons.
- Under-scarf or Bonnet: Keeps the hijab in place and adds that extra layer for experimentation.
- Straight Pins: To hold everything securely. Opt for decorative ones if you want to add a sparkle!
- Safety Pins: Just in case something needs a firmer hold.
- Mirror: A full-length or large bathroom mirror will help you get the full picture as you practice.
Got all that? Awesome. Let’s get started!

Step-by-Step Guide to Traditional Arabic Hijab Styles
1. The Effortless Basic Wrap
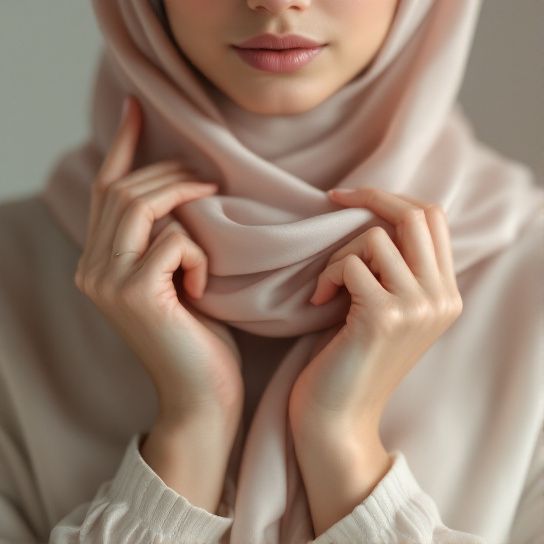
Alright, warm-up time. Begin with the foundational wrap. It’s simple, quick, and a great icebreaker if you’re just diving into the world of hijabs.
- Step 1: Place your under-scarf or bonnet over your hair, making sure it’s snug but comfortable.
- Step 2: Drape the hijab over your head with one side considerably longer than the other.
- Step 3: Pin the shorter side under your chin with a straight pin.
- Step 4: Take the longer end and wrap it around your neck, bringing it up over your opposite shoulder.
- Step 5: Adjust as needed, ensuring that it sits naturally around your face without too much slack.
2. The Elegant Draped Style
Feeling more confident? Let’s add some elegance with a classic draped look.
- Step 1: Again, start with the under-scarf. This time, use a rectangle hijab.
- Step 2: Place it on your head with both sides equal in length.
- Step 3: Pin the hijab beneath your chin, leaving the two sides hanging loose.
- Step 4: Take one end, drape it across to the other side, and secure it on top of your head with pins, creating a soft layered effect.
- Step 5: Adjust the draped part to have a gentle slope over your shoulders, letting it fall naturally.
Pro tip: This one works great with heavier fabrics that can hold a shape!

3. Layered Regal Look
Here’s a chance to channel your inner queen with layers that speak grandeur.
- Step 1: Slip on an under-scarf to form a solid base.
- Step 2: Fold a square scarf into a triangle and lay it center on your forehead.
- Step 3: Take the wide end of the triangle over your opposite shoulder, pinning it securely.
- Step 4: Pull the longer tail across the back of your head, bringing it to the opposite side, and pin it again near your ear or crown.
- Step 5: Tweak the folds as needed to create a soft wave effect over your shoulder and across your chest.
4. The Casual Knotted Style
This one’s perfect for a day out with friends or even just running errands. It’s fuss-free yet cool.
- Step 1: Have your bonnet ready and place a rectangular hijab over your head.
- Step 2: Leave one end significantly longer.
- Step 3: Fold each side slightly at the forehead to create layers and give dimension.
- Step 4: Gather both ends below your chin and tie them in a knot.
- Step 5: Tug the knot to either side, letting the ends hang loose and relaxed over your shoulder.
A Few Helpful Reminders
Here’s a quick breather before you set out:

- Fabric Matters: Choose the right fabric for the occasion or the look you’re going for. Heavier fabrics often hold elegant shapes, while lighter fabrics provide an airy feel.
- Practice Makes Perfect: It’s going to take a few tries, and that’s perfectly fine. Each time you do it, you’re one step closer to perfecting your Arabic hijab style.
- Experiment: Don’t shy away from experimenting with color, texture, or patterns. The beauty of hijab styles Arabian enthusiasts love lies in their versatility.
Common Mistakes to Dodge
Just a heads-up: there’s gonna be a learning curve, but keep an eye out for these common slip-ups:
- Short Scarves: It’s tricky to achieve those graceful drapes with inadequate lengths. Opt for longer scarves.
- Too Many Pins: Using too many can dampen the natural, fluid look you’re aiming for.
- Ignoring Comfort: An itchy, super-tight style isn’t worth the discomfort. Always adjust until you’re comfortable.

Putting It All Together
So, let’s pause here and think back to the steps. You’re layering, securing, and occasionally pinning — capturing the essence of Arabic hijab style is incredibly rewarding. The feeling you get when you first nail a style you’ve been practicing? Unmatchable.
Ultimately, it’s about finding what feels true to you — an Arabic hijab that doesn’t just sit on your head but complements who you are. Isn’t it fascinating how a simple piece of fabric can transform not just your look but how you carry yourself through the day?
Feel free to mix and match these styles, introducing elements you love from one into another. That’s the beauty of hijab style: arabic or otherwise, it’s a dynamic expression. Embrace the process, enjoy each step, and celebrate every time you look in the mirror and think, “I did that!”
As you embark on your hijab journey, remember: every fold is a story and every style, a statement. Happy styling! 😊
Frequently Asked Questions
How often should I wash my face mask to prevent maskne?
To prevent maskne, it is crucial to wash your face mask regularly. For fabric masks, wash them after every use, similar to how you would wash your underwear[2][3][4]. Disposable masks should be tossed after each use to prevent the buildup of bacteria and other contaminants[3][5>.
What type of skincare products are best for preventing maskne?
For preventing maskne, use skincare products that are oil-free or noncomedogenic. These products, such as gentle cleansers, moisturizers, and sunscreens, help prevent clogged pores and reduce the risk of acne. Look for products containing salicylic acid or benzoyl peroxide for their acne-fighting properties[1][3][4>.
How can I reduce friction and irritation caused by wearing a face mask?
To reduce friction and irritation, choose a mask that fits well and is made from breathable fabrics like cotton or bamboo. Loosen the mask straps, use pads under the straps, or consider a headband-style mask to minimize friction. Taking brief breaks to remove the mask and allow your skin to breathe can also help[2][3][5>.
What are some additional tips to prevent maskne while wearing a face mask?
In addition to regular mask washing and using the right skincare products, avoid touching your face, skip makeup or use noncomedogenic makeup, and moisturize your skin to keep it hydrated. Also, limit the use of active ingredients like retinol or benzoyl peroxide during the day when wearing a mask, and consider using a topical antimicrobial cream to prevent bacterial buildup[1][3][4>.
References