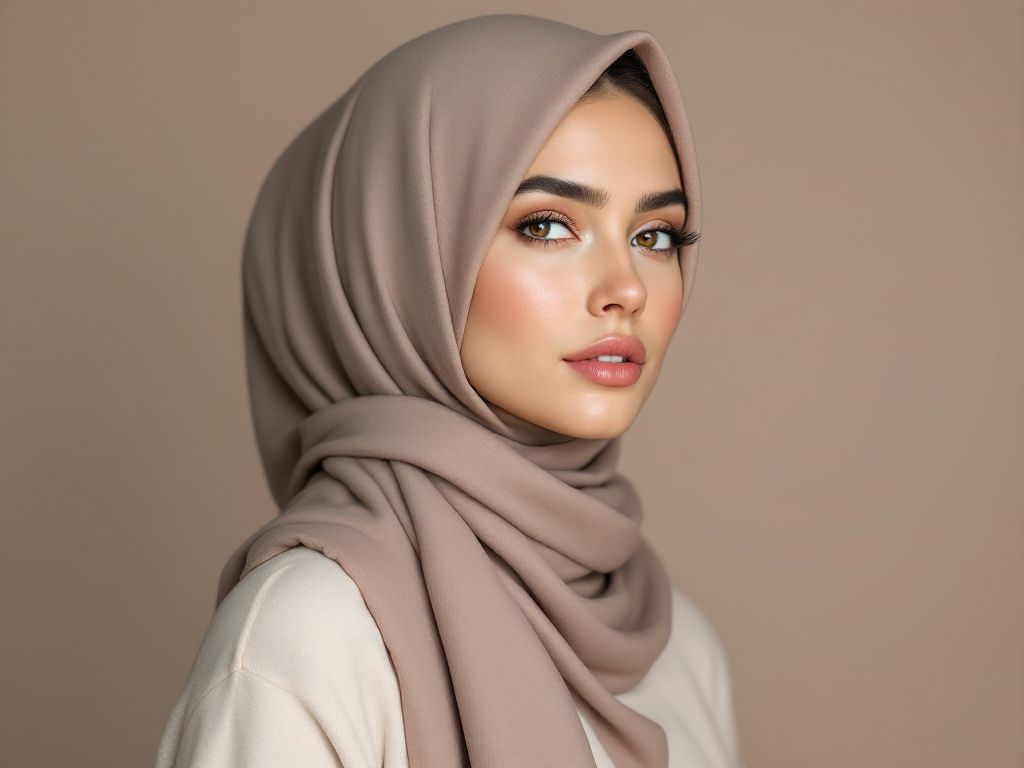


Embracing the Basics of Hijab Style

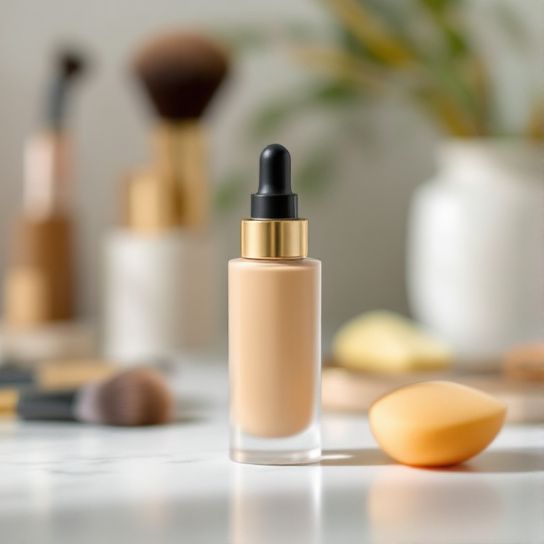
Hey there! So, you’ve decided it’s time to step up your makeup game and want to work on your foundation application, especially when it comes to achieving those warm, beige tones. Diving into the world of makeup can be a bit like deciding to redecorate without any prior experience—exciting but a tad overwhelming. But guess what? We’ve all been there, standing wide-eyed in front of a spectrum of shades trying to decode which one will give us that coveted flawless, natural look.
In this tutorial, we’re going to take it slow and steady—just like sipping a good cup of coffee—to explore the **foundation fundamentals** that’ll help you nail that polished, yet seamless look with warm beige tones. Whether you’re a total newbie or just looking to refine your routine, these basics will have you covered.
Starting with the Basics: Why Beige?
First, let’s set the stage by focusing on why you’d choose warm beige tones for your foundation. Beige is naturally a versatile color, often described as down-to-earth and comforting. It’s the comfy jeans-and-tee combo of colors—incredibly versatile and naturally cohesive. Beige shades can act as the perfect middle ground for many skin tones, providing warmth without leaning too red or too yellow. If a natural yet polished look is your goal, beige could be your holy grail.
Simple Steps to a Flawless Finish
Before diving headfirst, let’s talk essentials. Here’s a blueprint that any makeup lover should consider:
- Skincare Preps: Use a gentle cleanser to start fresh, followed by a moisturizer that suits your skin type. Hydration is key in making sure your foundation lays smoothly. And don’t forget the sunscreen—even if it’s beige, it’s no match for UV rays.
- Primer is Your Friend: A primer may seem optional, but nothing beats its ability to smooth the skin and create an ideal canvas for foundation. It’s like the unsung hero of long-lasting makeup.
- Finding Your Perfect Beige: Now, this can be a bit tricky. Standing under artificial store lighting with a dozen swatches on your jaw can feel daunting. A good trick? Pop outside with a handheld mirror. Natural light doesn’t lie.
- Application Methods: Brushes, sponges, fingers—each method has its charm. Brushes tend to work best for fuller coverage, whereas sponges can offer that soft airbrushed look. Fingers warm up the product and can be perfect for a sheer application.
- 5. **Blend Well: And blend some more—trust me on this one. You’ll want to dart your tool of choice (brush, sponge, or fingers) in tiny circles or dabbing motions for an even spread. Always blend down into your neck to avoid a jarring line.
- 6. **Set It Up: You might want that luminous glow, but a touch of translucent powder, especially in your T-zone, can help control shine without muting the glow.
- 7. **Final Touchups: Concealer comes in handy post foundation—think under eyes or any blemishes peeking through. A little goes a long way if you blend it in seamlessly with your foundations’ tone.
Exploring Different Techniques
Now, let’s play with ways to up your foundation game. Understanding and mastering diverse techniques can give you that edge, much like having a secret weapon up your sleeve.
The Buffing Technique
Here’s where patience is your friend. With circular buffing motions and a trusty foundation brush, you’re coaxing the product into the skin. This is particularly beneficial if your goal is to diminish the appearance of pores and fine lines.

The Stipple and Bounce
Enlisting the help of a beauty sponge in a stippling (or bouncing) manner can craft that barely-there look. You apply less pressure while enjoying the benefits of added layering control. A top tip: slightly dampen the sponge—a little dab here, a little bounce there—and voila, complexion perfection.
Finger Painting Magic
Relying on warmth, this technique often yields a naturally fused texture. Utilizing fingers can feel like a throwback to art class but trust, the blending and shade continuity are ace. Fingers are phenomenal for blending creamier formulas and can make shade transitions feel seamless.
Experience Foundation Evolution
We all know one size doesn’t fit all. This truth stands grand in the world of foundation as well. It’s an evolving process, much like learning to drink wine; preferences tend to refine over time. Here’s the skinny on potential evolution markers:
- Photography Ready: If events (or the ‘gram) are on the horizon, consider matte foundations since camera flashes might exaggerate the shine.
- Daily Wear Warrior: For everyday comfort, lean booths towards sheer to medium coverage formulas that are hydra-focused.
- The Night Owl: Structured night outings? Try cream-to-powder renditions which provide rich coverage and stay put on demanding skin types.
Common Foundation Mistakes to Dodge

Even the best intentions can lead us astray, so let’s sidestep these common blunders:
- Tone Jumping: Avoid shades that match your hand or wrist–shoot for areas like your neck or base of your cheek for play.
- Skincare Ignorance: Underestimating skin prep can lead to patchiness, flaky zones, or cakiness. Moisture invites smooth application.

- Unblended Edges: This one teeters towards beauty faux pas. Create soft edges by using a soft brush to graze edges post foundation application.
- Groovy Layering: Don’t layer to cover entirely. Instead, build up pressure where needed–trust how products can harmonize one another.
Wrapping up Like a Cozy Blanket in Beige
As you learn-and-layer, remember that beauty is as personal as it gets. No script will ever feel quite like the symphony you create over time with your distinct needs and preferences. Embrace each streak and blink as you craft. As for warm beige—a salute to its simplicity, comfort, and natural depth!
Oh, and remind yourself: practice doesn’t make perfect, it evolves you. Dive into the evolving realm of makeup, but lean on the steadiness of beige tones for that foundation sure-footedness. Now go out there, trust in your choices, and embrace the basics you’re building on. Cheers to sculpting your very own masterpiece!
Frequently Asked Questions
What is a basic hijab style?
A basic hijab style typically refers to the classic and simplest ways of wearing a hijab. One of the most common styles is the Everyday Wrap or Classic Wrap, where you frame the hijab around your face, secure it under your chin, and wrap the longer side over your head and around your neck[3][5].
How do I wear a traditional square hijab?
To wear a traditional square hijab, fold the square into a triangle, place it over your head with the long edge along your forehead, and secure it under your chin with pins. Then, take the two edges and tie them behind your neck. This style is particularly popular in Turkey[1].
What materials are best for a basic hijab style?
The best materials for a basic hijab style depend on the season and personal preference. For everyday wear, breathable fabrics like cotton, georgette, and chiffon are recommended. In colder months, wool or jersey hijabs can provide warmth while maintaining a chic look[1][3].
Do I need pins to secure a basic hijab style?
While pins can be used to secure a hijab, they are not always necessary. For example, using non-slip fabrics or magnets can keep the hijab in place without the need for pins. This is especially true for styles like the Everyday Wrap or when using a hijab cap[3][5].
References