

Mastering Foundations in Warm Beige for Beginners
So, you’re strolling down the beauty aisle, wrestling with a universe of foundation shades, when it hits you: how on earth do you pick the right one—especially with warm beige? Seems simple, but it can be a surprisingly tricky ordeal. Fear not, dear beauty enthusiast! Let’s break it down together in a way that’s as natural and warm as chatting over coffee.
Why Warm Beige?
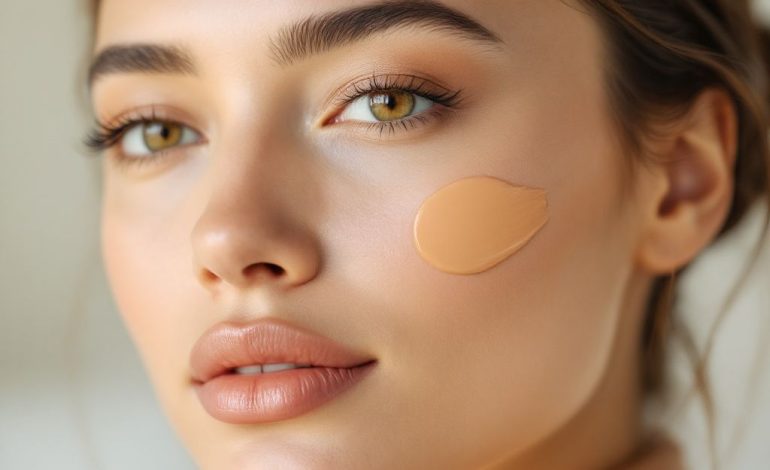
Ever noticed how laying that perfect foundation is like setting the stage for the rest of your makeup performance? Getting it just right is the key. Warm beige is a go-to shade that has a knack for bringing that natural glow without screaming for attention. It’s perfect for folks with a medium skin tone, living in that sweet spot of neither too light nor too dark.
Now, diving into the basics, understanding your undertones is foundational—no pun intended. If you see golden or yellowish hues when you glance at your skin, warm tones are your jam. Warm beige foundations, then, might just become your new best friend.
Step 1: Prep and Prime
Alright, before whipping out that foundation bottle, we’ve got to set the stage. Picture your face like a canvas—what’s an artist without prep work, right? Start with a clean face. Gently cleanse and ensure it’s pat-dry. Slap on some moisturizer relevant for your skin type to keep those mornings or nights dewy and fresh.
Primer: Your Undercover Ally
Next up, primer time! If you’ve ever swerved past this step, dodging primers, you might want to reconsider. A good primer smooths your skin’s surface and helps the foundation settle more gracefully. Opt for a primer that jives with your skin’s mood—a hydrating one if you’re a dry skin friend or a mattifying gem if you’re hoping to keep it less glossy.
Step 2: Choosing the Right Foundation
This is where stuff gets real, so stay with me here! There are shelves upon shelves of foundation, but the trick lies in the nitty-gritty selection process. Here’s the approach to locate your warm beige soulmate:
Test, Don’t Guess
You might be tempted to go by bottle shade alone, but I promise aceing that swatch test is as rewarding as that perfect parking spot find. Dabble a bit on your jawline. Blend it, wait a few minutes, and see how it sets in natural light.
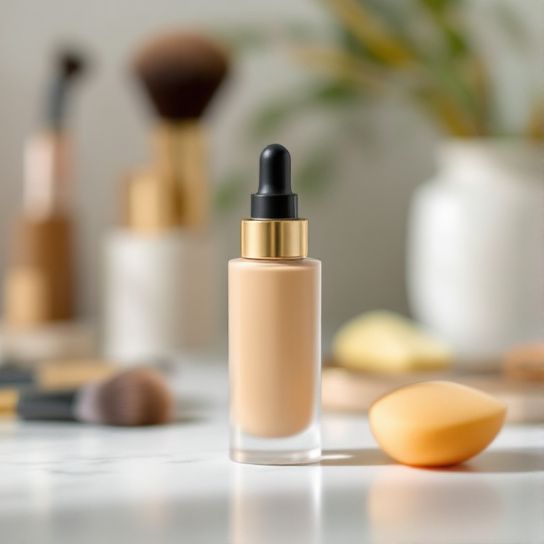
Foundation Formulas: A Little Chat
Ever noticed how liquid foundations, powders, sticks — you name it — can overwhelm even the staunchest enthusiast? Play around with formulas. Liquids work great for those who want mixers of breathable coverage and flexibility; powder foundations bump it up with ease of application; sticks, on the other hand, double down on convenience when you’re on-the-go.
Step 3: Application Magic
Time to dive into this—the dance of brush and sponge wielders. Engage with whatever you feel best encloses your artistic mojo.
The Brush Brigade
Foundation brushes (like those scrumptious kabukis) cloud your face with broad strokes, making for an even, smooth terrain. Start at the center of your face, work outwards, and don’t rush—breathe some rhythm into this!

A Sponge Story
Going for that airbrushed visage? Your paw gloves reach out to snug makeup sponges. Hold them damp and dab dab dab! Avoid swiping; let patience step in while you press gently into the skin.
Fingers Crossed (Literally!)
Pressing suits best—be it a textured canvas or a smooth gleam, your fingers spread warmth, properly melting the blend fantastically into the skin. Plus, a lot of professional artists swear by them for certain formulas… so who’s complaining?
Consistency in Color
Once your foundation is in place, don’t leave it hanging. Make sure the shade seamlessly transitions to your neck. Half-person, half-puzzle doesn’t attract compliments.
Step 4: Set and Forget (Well, Sort Of)
Let’s secure all this effort, shall we? The setting powder is your next go-to. For beginners leaning towards that late afternoon glow hinge, apply lightly with a brush or sponge, focusing on areas prone to shine—like the T-zone.
Misty Business

For those who thrive in the spritz life, sealing sprays come into play. Just when you’ve swept that masterpiece and are ready to laze a while, light mists draw their curtains, sustainably preserving your look.
Key Mistakes and How to Steer Clear
Trust me on this one—it’s a learning curve! But dodging these mistakes guarantees smoother escapades!
- Skipping Primer: Remember, primer isn’t just about looking pretty. It cools down hot skin disagreements and unifies application.
- Over-Powdering: Easy does it. Overdoing powder can age up the look to chalk town. A light tap-tap, then pull back.

- Color Matching in Store Lighting Only: Stork-shop reflexes persuade you—make daylight your second in command ensuring what really works.
Quick Recap
Warm beige foundations, with their mellow, lit-from-within warmth, accentuate your skin color naturally. Use primers for a uniform foundation setup, test your shades properly, and employ your favored application tools to apply with creativity.
To keep it intuitive: decipher undertones, lighten usage, and nurture the shading process with a touch that’s barely hasty, always zen. Remember, the process invites you to personalize!
Mosey at your own pace, catch those moments, chalk errors as spectacular steps up the creative ladder—and before you know it, you’ll have mastered the basics of this glow game without a blink. Embrace your base, revel in fluidity, and poke around these tips as your reliable sidekick. You’ve got this—go work that canvas like a charm!
Frequently Asked Questions
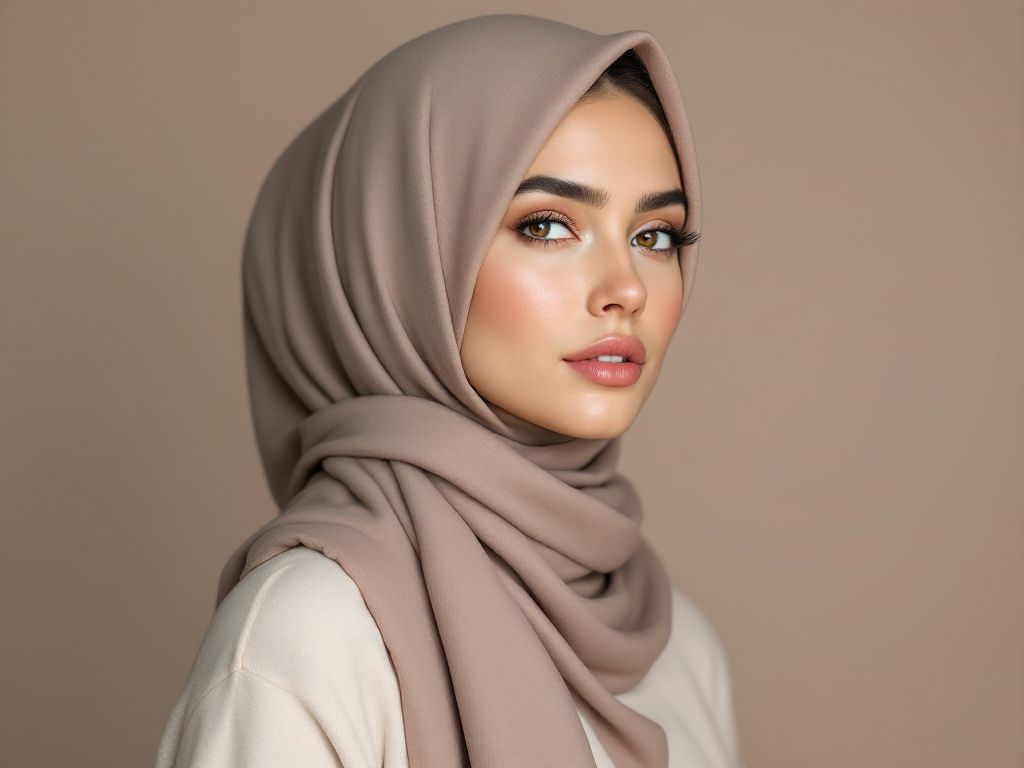
What is a basic hijab style?
A basic hijab style typically involves simple and versatile techniques for wrapping the hijab around the head. One common method is the classic square hijab, where you fold the square into a triangle, place it over your head with the long edge along your forehead, and secure it under your chin with pins. Then, tie the two edges behind your neck[1][2][4).
How do I wear a classic square hijab?
To wear a classic square hijab, start by folding the square into a triangle. Place the triangle over your head with the long edge along your forehead. Secure the hijab under your chin with pins and then tie the two edges behind your neck. This style is particularly popular in Turkey and works well with various face shapes and outfits[1][2][4).
What fabrics are best for a basic hijab style?
For a basic hijab style, fabrics like jersey, chiffon, and cotton are popular choices. Jersey hijabs are comfortable and stylish, chiffon hijabs are light and smooth-textured (often requiring an underscarf), and cotton hijabs are breathable and suitable for summer[2][4][5).
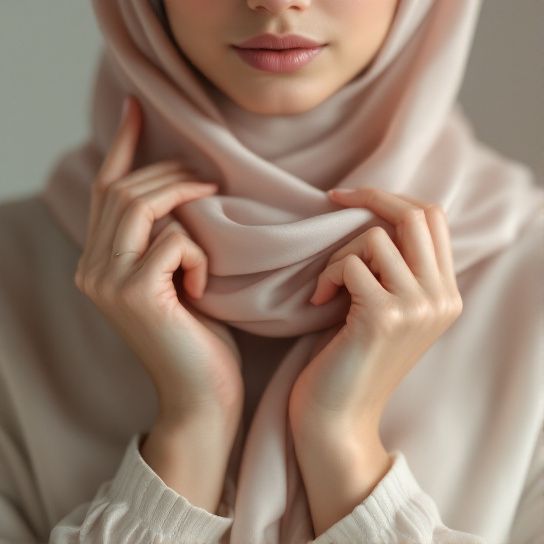
How can I secure my hijab in place?
To secure your hijab in place, you can use pins, especially snag-free safety pins. For a classic wrap, pin the hijab under your chin and at the back of your neck. For other styles, pins can be used to secure the hijab around your face or under your chin, depending on the style you are achieving[1][2][4).
References